Simple Sensory Bins
Contrary to popular belief, you don’t need an Ikea Flisat table or a big budget to set up a sensory bin for your kids.
Even if the Flisat was in stock at any Ikea anywhere on the planet and money grew on trees for you to buy endless sensory supplies, you can make do with what you have around the house. I’m here to give you some ideas on super simple sensory bins that do just that.
Getting Started
You need three things to get started. Yes, that is all! Get ready to raid your kitchen cupboards.
- A bin: Setting the fancy tables aside, you can use any sort of container you have laying around/stuffed into a closet/piled atop a heap in the garage. Lid or no lid, one bin or multiple – anything goes. I recommend something with high edges, not a tray or plate. Here are some ideas:
- Large food storage container (the bigger the better, so as big as you can find)
- Home goods storage container on the smaller side or larger side
- Dish pan
- A scoop: Your child may or may not use their hands for the sensory experience, but I still recommend providing the option of using an implement. Here are some ideas:
- Measuring cups (my daughter’s personal favorite)
- Ladle
- Kitchen tongs
- Small kitchen containers (think plastic takeout containers, repurposed food containers)
- Wooden spoons (I splurged and purchased these; the measuring cups are still my daughter’s favorite)
- A substrate: Since we’re going with items you already have around the house, I’ll spare you the Pluffle, water beads, etc. (although these are very fun if you have the opportunity to use them).
- Dried beans (the first sensory play I offered to my daughter when she was 18 months old; still her favorite at 3+ years old)
- Uncooked rice or pasta
- Ice
- Water
- Pom poms
- Shaving cream
- 1,000-piece puzzle pieces
- Packing popcorn
- We’ve even used a container full of googly eyes; don’t ask

The Set Up
You can be as simple or elaborate in your sensory bin setups. I lean toward simple (which is why I’ve written this article), choosing between a few bins and scoops, and one substrate at a time. Sometimes I include other elements like toys we already own.
If you’re using dry goods, your setup will be straightforward. If you’re using wet items such as ice or shaving cream, I recommend using bath towels and/or paper (newspaper, easel paper) on the floor or table.
The Clean Up
Sensory play, no matter the substrate and age of the child, will be messy (even if just a little bit). I’ve seen some people leave their bins set up for days or weeks at a time, while others (such as myself) put them away after one play session.
Use a handheld vacuum to such up stray grains of rice or beans, or have your child use a broom and dustpan for an additional fun task!
For dry goods sensory play, you could put a lid on the bin and call that cleaned up. Or, you could use smaller airtight containers to store the materials. I use heavy duty gallon-sized reusable plastic bags to store our sensory beans and rice. We’ve been using the same navy beans for almost two years.
The Ideas
Here are a few simple sensory bin ideas for inspiration (or replication).
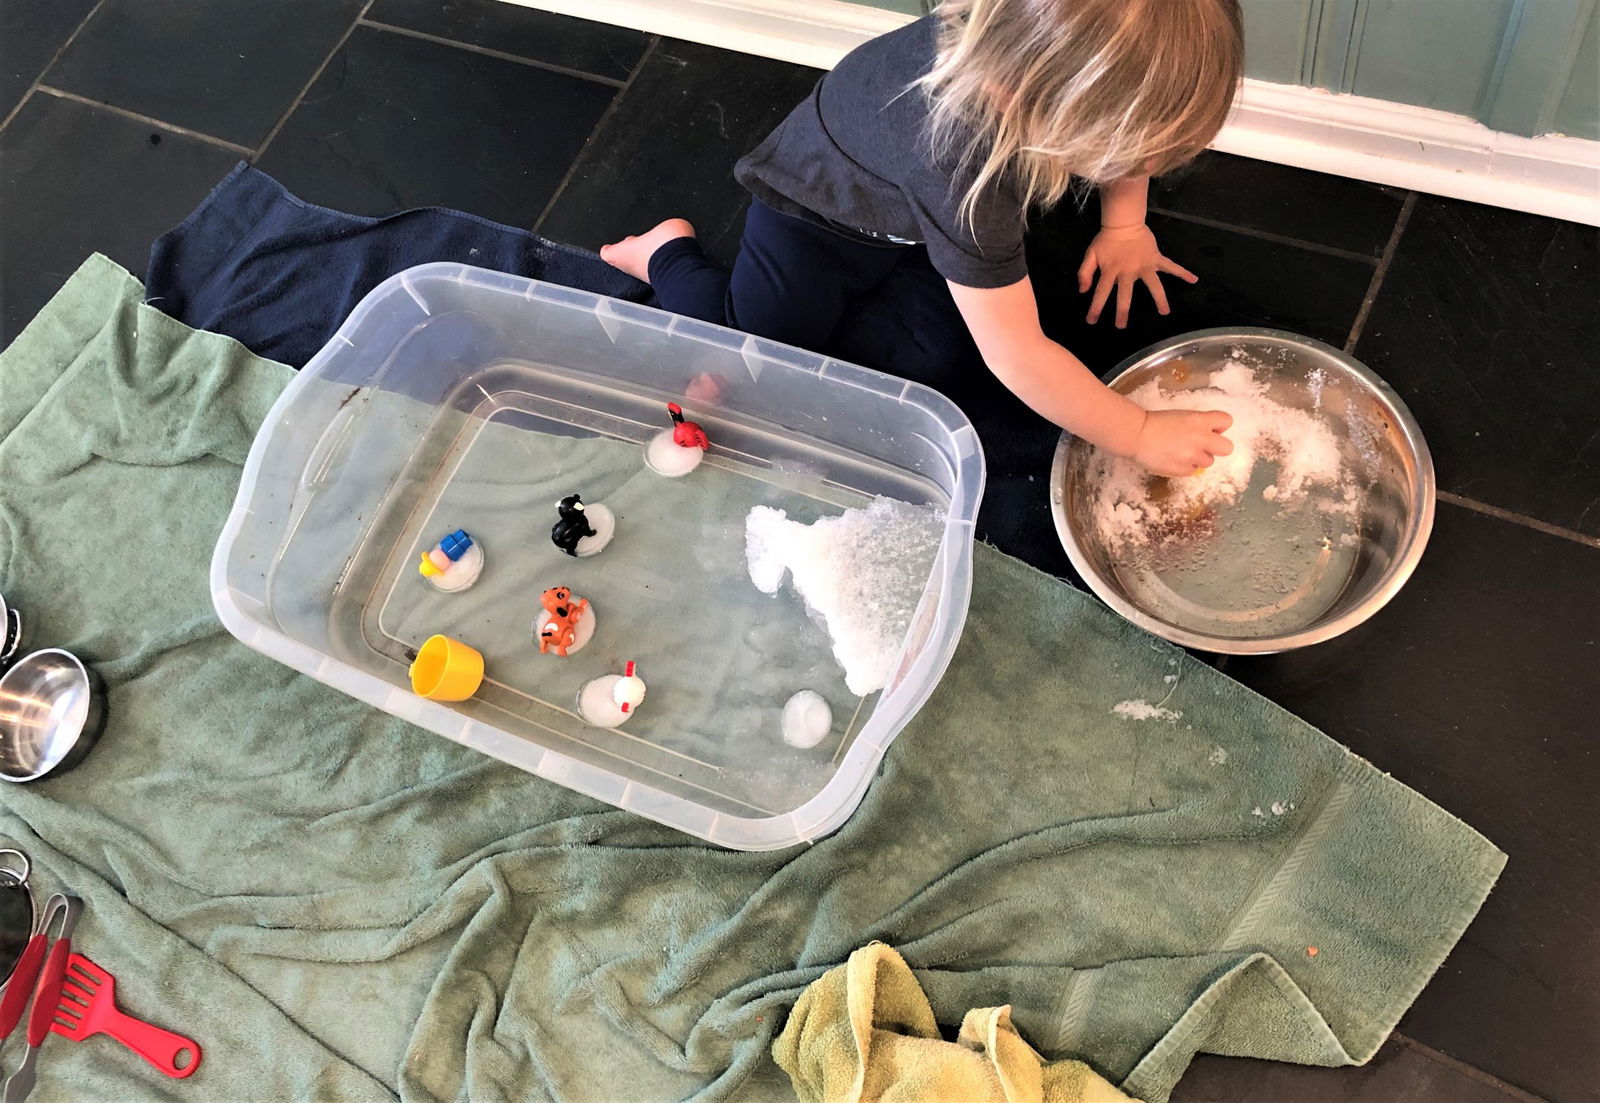
Ice: For this one, you could just use ice with some scoops and different sizes of bowls. I dressed it up one time, and used a combination of ice cubes, snow, and plastic toys. Start with 6 – 12 small plastic toys or blocks, and place each in the compartments of a muffin tin. Fill with water and freeze. Then place the frozen toys in a bin, and allow your child to melt the ice with room temperature water, chip away at the ice with a spoon or wooden meat tenderizing mallet, or simply play with the frozen toys as-is.

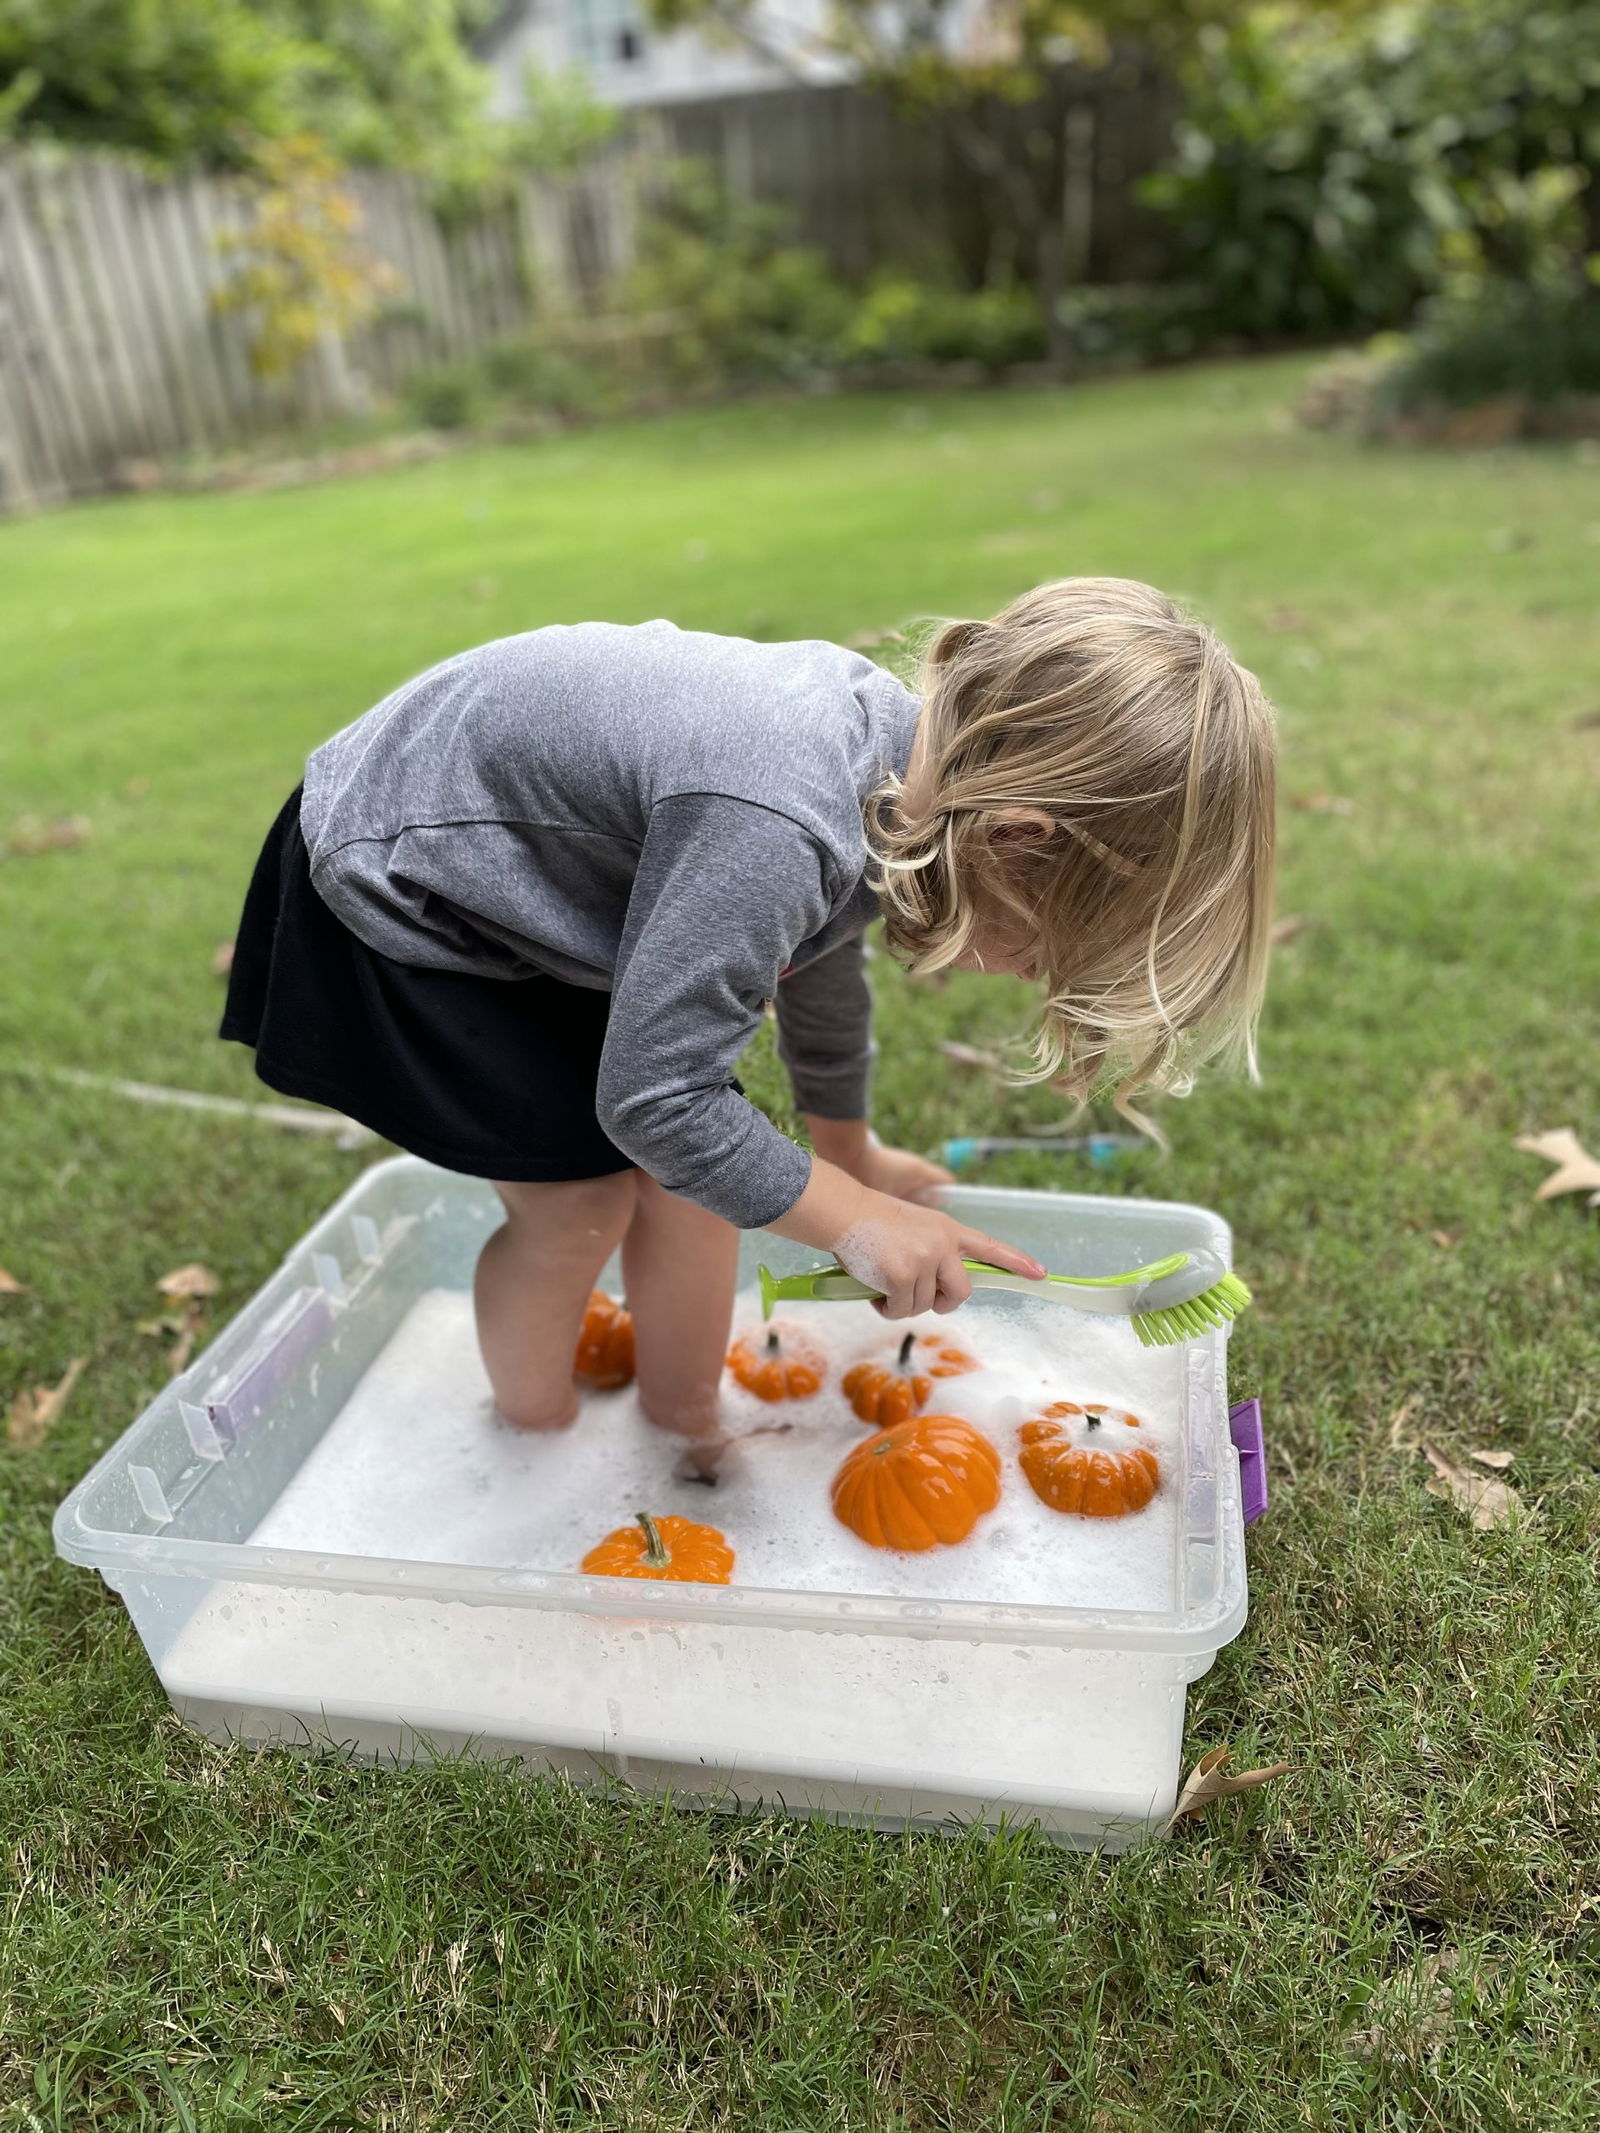
Cleaning Station: This can be simply for fun, or also utilitarian. For my example, I had pumpkins that needed to be washed so I could paint them. Fill a bin with water and a few drops of dish soap. Provide a kitchen scrub brush or sponge. Show your child how to clean the items – use pumpkins, potatoes, toys, you name it. This is great for warm weather, too!

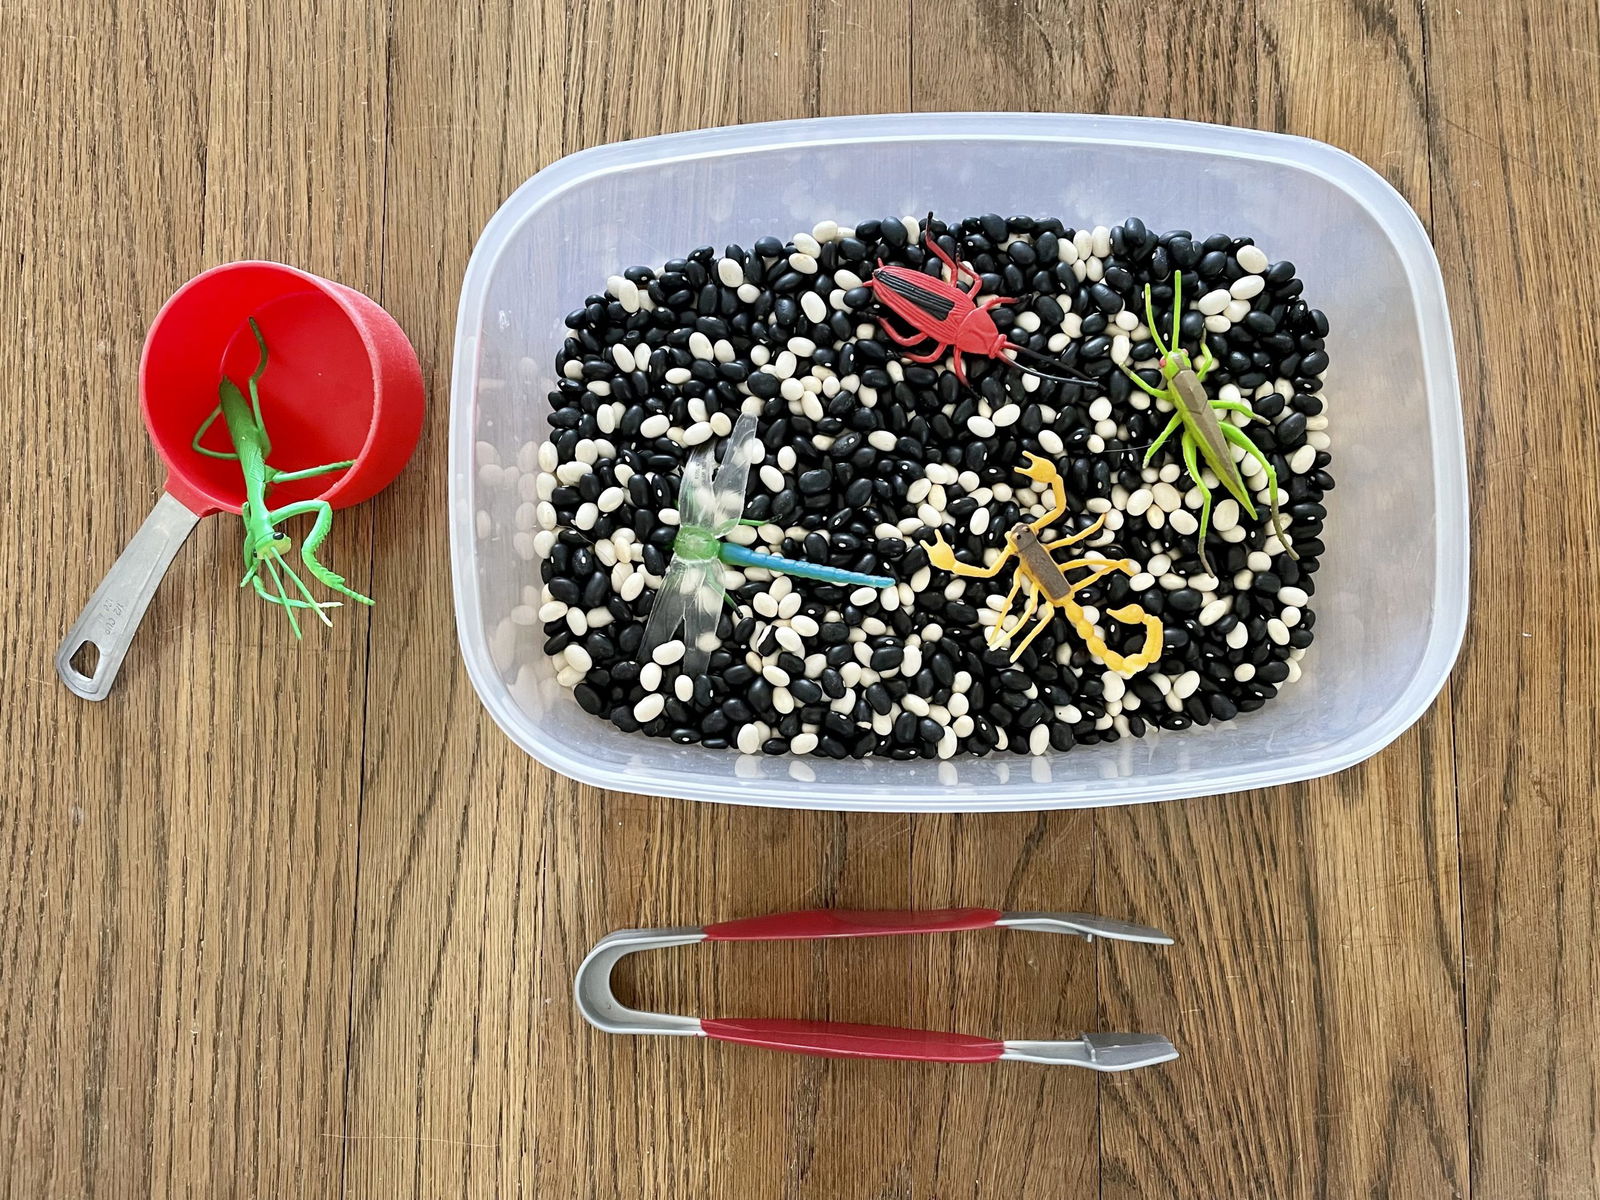
Beans & Bugs: Take at least one bag of dried beans. My example includes two bags of navy beans. You can mix and match, or keep it simple with just one bag of one type of bean. Throw some bug toys into it, and provide your child with a magnifying glass and tongs. They’re guaranteed to not bug you for at least five minutes.

Rainbow Rice: This is the least simple of my simple sensory bin ideas, but it’s still easy. I promise. All you need is uncooked rice, food coloring, and vinegar or hand sanitizer (which we all have on hand, literally). For detailed – and still simple – instructions, check out The Busy Toddler’s rainbow rice recipe. Place the finished rainbow rice in a bin. Provide some scoops. And voila!
It starts off looking like a true rainbow, and within seconds is just a mix of colors. My dog always wants to eat it, so beware of that. It’s non-toxic, but still. You don’t want your hard work to be gobbled up by Fido! Store in an airtight container for reuse.

Of course, choose according to your family’s needs. Only you know your own tolerance for mess and your child’s interests and developmental stage. Please use caution when introducing sensory play, especially if your kiddo mouths items.
It’s simple: It’s time to dig through the cabinets and let your child’s (and your) imagination run wild!


