The Lazy Mom’s Intro to Composting (with DIY tutorial.)
Years ago, before I abandoned my aspirations to be a cool urban homesteader, I built a compost bin. I only used it for a few months before I fell out of the habit and then it sat, untouched, for years. When I opened it up recently I was delighted to find… compost! The thing actually worked! I was motivated again to start tossing in my leftovers, and thanks to my daughter I have plenty to toss.
It’s no secret that kids can be picky about what they eat. It’s probably the most well-known parenting trope. And yet, I still find myself surprised by my daughter’s eating habits. For a month she’ll want nothing but macaroni & cheese, and then suddenly she won’t touch the stuff. One day she’ll eat an apple to the core, and the next she’ll take three bites and declare: “Done!”

I try to make sure there’s always something on her plate I think she likes, but I won’t make her a second meal if she doesn’t want the first one. So some days she inhales her food, and other days she hardly eats anything. On those days, I throw out a lot, sometimes a whole plateful.
“Keep offering your child a variety of foods!” the entire internet suggests, so I offer, and some of it goes in her mouth, and some of it goes in the trash. I don’t feel great about the wasted food, but I feel a little better knowing that some of it is eventually going to turn into lovely compost that I can use in my rare attempts to garden.
If you’re intimidated by the idea of composting, don’t be! It’s easy to get started and like so many things in life, you get out of it what you put in. Which leads me to…

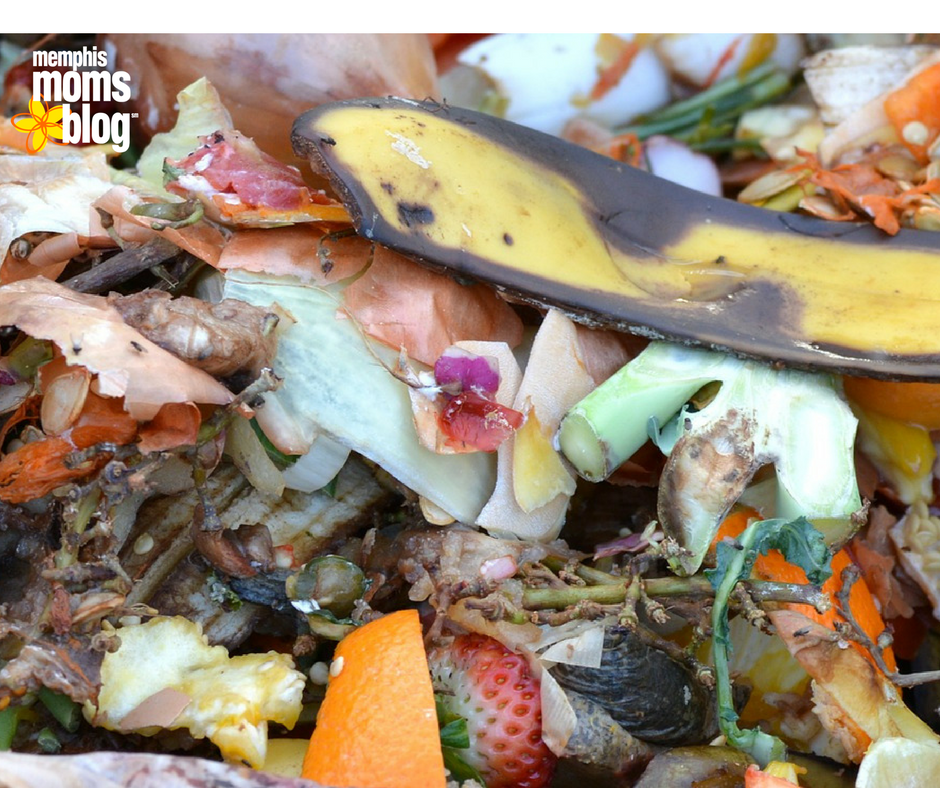
What can be composted?
Anything organic will eventually break down, but for home composting you’re better off sticking with the general rule of no meat or dairy. Both will get quite stinky and are more likely to attract pests.
Here’s a handy list, courtesy of The Compost Fairy.


In fact, if you want to be super lazy you can just take your kitchen scraps to The Compost Fairy! They collect kitchen scraps for composting at the Cooper Young Community Farmer’s Market every Saturday. But if you want to give it a try yourself, read on.
DISCLAIMER: There are many super cool and complicated DIY compost bins out there, but I prefer this one as a starter because it’s simple and cheap. So if it turns out schlepping your old food outside isn’t for you, then you haven’t wasted that much time or money, and you can still use the bin to cart leaves or something. Short of dumping your kitchen scraps in a hole in your yard, this is about as basic as you get.
DIY COMPOST BIN TUTORIAL
Start with a 32-gallon garbage can. This one cost $16 at a home improvement store. You can really use any kind of container, but the garbage can is easy to move around and comes with a lid, both useful.

You’ll also need a power drill with a nice size bit. I used a ½ inch bit.

Now drill a bunch of holes in the bottom and all around your bin.

This does not have to be precise. Your goal is to make sure air can circulate because, without oxygen, your stuff won’t break down. I drilled mine about five inches apart. The drilling is the most tedious step, and I suggest doing it someplace where it’s easy to sweep up all the little plastic leftovers. I did it in the den while watching Netflix.

And viola. Yep, that’s it. You have a compost bin. Now what? Fill it with biodegradable material! Start with a layer of “browns.” That can be leaves, shredded newspaper, or used paper towels.

Then toss in some “greens.” Those are your food scraps.

Cover the scraps with another layer of browns, then pop the lid on and find a place in your yard to park the bin. Some people put it on top of a pair of bricks or cinder blocks to encourage air circulation but I like to stick it right on the ground so the little worms and other helpful bugs have better access.
At this point you could do literally nothing else and your bin’s contents will break down. To make the most of it, though, you need to keep tossing in a mix of greens and browns. Every so often tip your can over (make sure the lid is on tight!) and roll it on the ground to really stir things up and get air to some of the more buried bits. I collect my scraps in a small, lidded bin in the kitchen that I dump into the outside bin once or twice a week. I roll the bin to mix things up every other week or so.
FAQ
What if it’s stinky? Properly balanced compost piles have a lovely earthy smell, but if your bin smells bad it’s likely too wet and/or has too much green stuff and not enough brown. Your pile should be about as damp as a wet sponge (so feel free to turn the hose on it if it seems too dry.) There is a science to composting, having to do with the amount of nitrogen and carbon in the pile, but I am lazy and not good at science so I stick with a ratio of about 1:3 green to brown. You may have to adjust, depending on what kind of scraps you throw in.
Will my dogs/cats/friendly neighborhood rats try to get into it? I have two dogs and live behind a rodent-friendly drainage ditch, and I haven’t had an issue. If you keep out the meat and dairy you should be fine, but if you do find critters trying to chew into your bin you can staple wire mesh around the inside to keep the air flow but make it tougher for animals to get in.
Won’t my scraps eventually biodegrade even if I throw just them in the trash? The key word there is eventually. The trash we throw out is generally wrapped in plastic, buried deep, and packed tightly, which isn’t conducive to breaking down. Your banana peel in a landfill could take years to biodegrade.
It’s been months and the banana peel in my bin still looks like a banana peel. What gives? Because I am lazy I usually toss my scraps in whole but if you want yours to break down faster you can give them a head start by chopping them up into smaller pieces. The smaller the piece, the faster it will break down.
And there you have it. A Google or Pinterest search will show you there can be a lot more to composting (from fancy rotating bins to meat thermometers,) but this should be enough to get you started. Good luck and happy composting!